Is your West Salem view doing all it can to sell your home? When buyers tour, the river, bridge, or ridge line should feel like the headline of your listing. With a few smart staging moves and the right photos, you can turn that outlook into stronger interest and better offers. In this guide, you’ll learn how to set up rooms, prep windows, direct your photographer, and price strategically so your view reads as your home’s best asset. Let’s dive in.
Know your West Salem view
In West Salem, many homes look across the Willamette toward downtown, the Marion and Center Street bridges, and Riverfront Park. Others face the Salem Hills and the Eola and Waldo ridge areas, with Wallace Marine Park and the Union Street pedestrian bridge as key landmarks along the river. Get familiar with how buyers read these outlooks and the amenities they connect to by reviewing the area’s riverfront and crossings in this overview of Salem’s riverfront and Union Street pedestrian bridge.
View quality and privacy vary street by street, so the premium for any property comes down to the specific angle, distance, and how cleanly the eye connects interior living to the panorama. Academic research on view premiums shows real value for water and long-range views, though the effect ranges from low single-digit percentages for partial views to much larger premiums for unobstructed, high-quality water vistas. You should treat your view as valuable, then price it using recent local comps. See the background on view valuation in this hedonic research on view premiums.
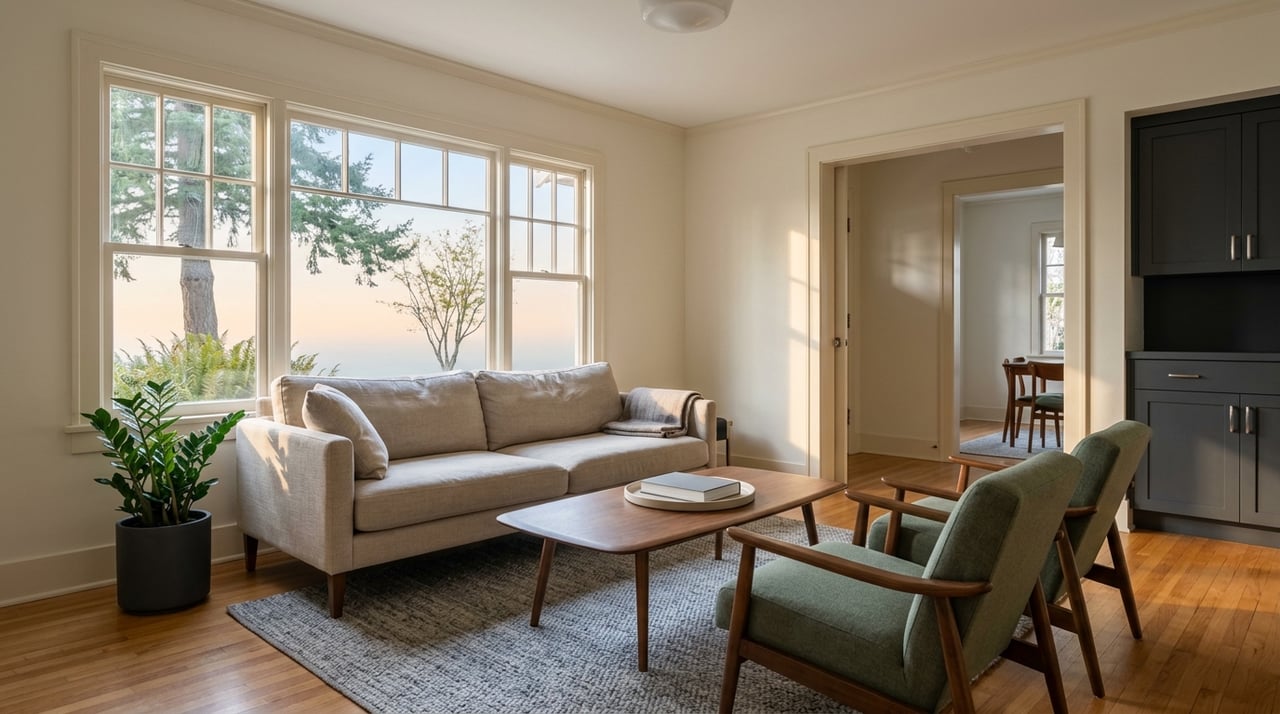
Make the view the star
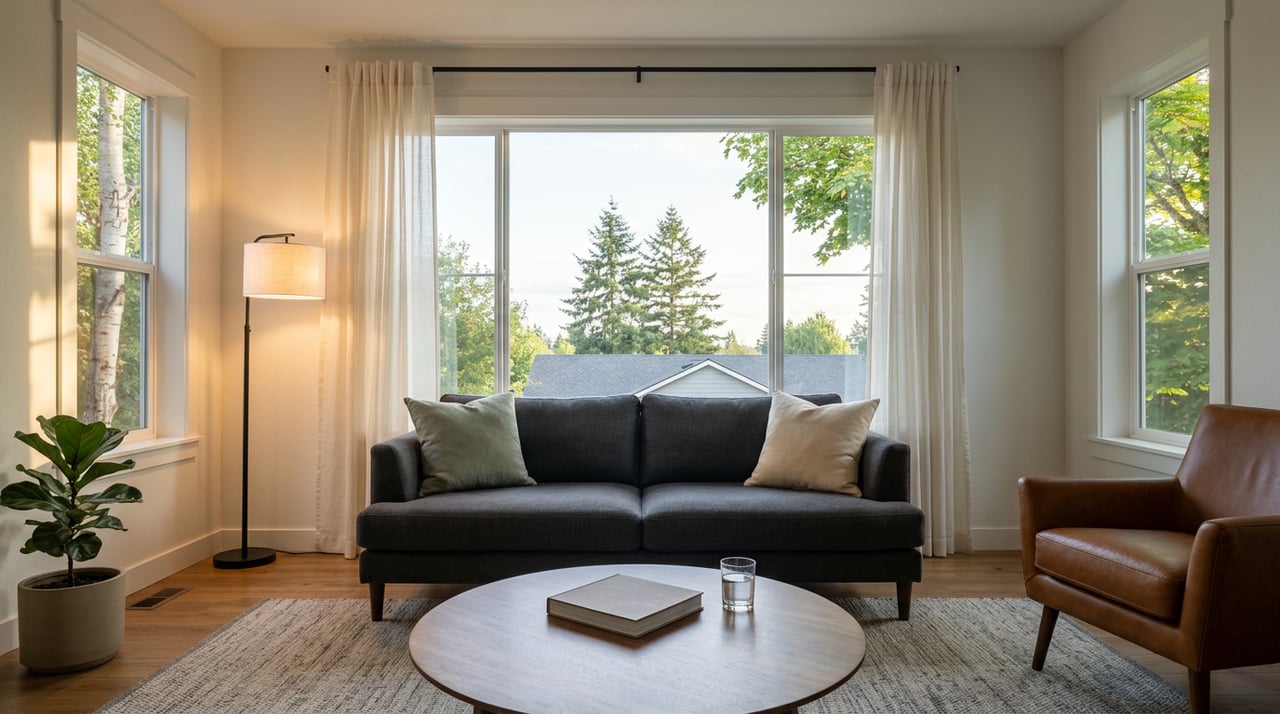
Create a clear sightline
- Place primary seating so it faces the windows or doors that frame the view.
- Use low-back sofas and slim chairs near glass so the horizon stays visible.
- Keep traffic paths open to the windows and deck so buyers can walk right up to the glass without squeezing around furniture.
Maximize window impact
- Pull draperies fully to the sides and mount rods higher and wider so the opening reads larger.
- Choose light, neutral sheers with discreet roller shades for privacy that still lets the view read.
- Clean every pane inside and out. For photos, remove or open screens and any temporary obstructions. Photographers often recommend this simple prep, as noted in HomeJab’s photography guide.
Balance light for a natural feel
- Layer ambient, task, and accent lighting so rooms look bright on overcast days.
- For twilight photos, switch on all interior and exterior lights to create a warm glow that complements river or bridge lights.
- Expect changing skies. In the Pacific Northwest, bracketed or HDR images help balance bright exteriors with interior detail. See the HDR tip in HomeJab’s photography guide.
Use calm color and fewer distractions
- Keep walls and larger furnishings neutral and low contrast so eyes move to the horizon.
- Limit accessories to one accent color and remove personal items that compete with the view.
- Clear window sills, balconies, and railings so nothing interrupts the frame.
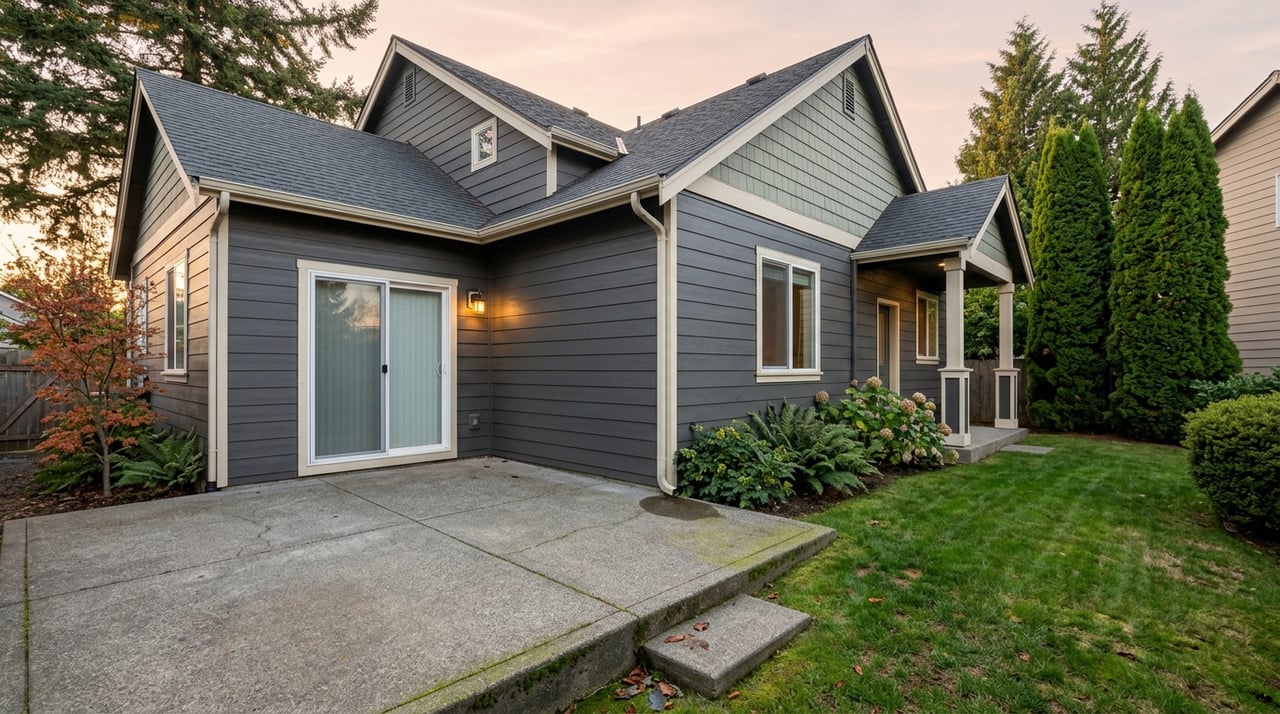
Stage decks and trim with care
- Treat decks and patios like rooms. Add a small seating group oriented to the view and simple, warm lighting for evening shots.
- Place greenery in containers, not as large plantings that block sightlines.
- Prune view corridors thoughtfully. If trimming near the river or protected buffers, confirm property lines and check rules with Polk County or the City of Salem before starting work.
Photo strategy that sells the outlook
Choose your hero images
- Lead with a wide interior shot that shows the living space in front with a clean river, bridge, or ridge view beyond.
- Add a twilight exterior of the deck or patio with interior lights on.
- Include a drone image that places your lot relative to the river, Wallace Marine Park, and the ridgeline. These angles help buyers understand context at a glance. Practical prep and sequencing tips appear in HomeJab’s photography guide.
Follow a concise shot list
- Lead interior: living or dining with the view in frame.
- Deck or patio staged for use, plus a twilight variant.
- Twilight exterior showing house and any water or bridge reflections.
- Drone context: lot, river, park, ridge.
- Detail: window framing, balcony rail, or the view from the primary bedroom.
- Supporting rooms with balanced interior light.
- Neighborhood context if relevant, such as proximity to Wallace Marine Park or the Union Street crossing.
Set your photographer up for success
- Request bracketing or HDR for interiors that include bright exteriors.
- Book the main interior session for soft morning or late afternoon light, with a dedicated twilight slot.
- Prep before arrival: open drapes, remove screens, turn on all fixtures, clean glass, sweep decks, and hide small clutter. These steps are highlighted in HomeJab’s photography guide.
Sequence images for maximum impact
- Start with the hero view, then the deck or twilight, then the drone, then staged interiors.
- Keep the order logical to tell a clear story: outside, lifestyle, then details.
- A clean, intentional sequence increases buyer engagement online. See sequencing best practices in HomeJab’s photography guide.
Staging ROI and pricing strategy
Well-presented homes sell faster, and staging helps buyers connect emotionally with the space. According to NAR’s latest staging report, staging often increases buyer interest and can lift offer prices, with the living room and primary suite as the most influential spaces. Use your budget where the view is strongest.
View premiums are real, but scale with quality and context. Research shows partial views deliver smaller gains while unobstructed water or long-range vistas can deliver larger ones. The right strategy is to price from local comps and adjust for the specific view, not just the label “river view.” Learn more in this hedonic research on view premiums.
A simple pricing playbook
- Pull recent sales in your micro area that specifically mention river, bridge, or ridge views. Note days on market and sale-to-list ratios.
- If direct view comps are thin, review the nearest non-view comps and apply a conservative illustrative range based on your view quality.
- Launch with your best photos in the first 7 to 10 days to capture early momentum. NAR’s data link staging to faster sales and stronger perception, which can translate into better offers.
A quick checklist for sellers
48–72 hours before photos
- Deep clean interiors and all window glass.
- Reposition tall furniture away from window walls.
- Mount curtains high and wide so they stack off the glass.
- Stage decks or patios with seating for two to four and remove debris.
- Verify any needed approvals before major vegetation trimming near the river.
Day of the shoot
- Remove or open window screens, then turn on all interior and exterior lights.
- Ask for HDR or bracketed interiors, twilight exteriors, and one drone context shot if allowed.
- Confirm delivery of a hero interior, a twilight deck shot, a drone context image, and balanced room images. Guidance appears in HomeJab’s photography guide.
After editing and at launch
- Lead MLS and social with your single best hero view image.
- Include the drone context on your property website and flyers.
- Time showings when the view reads best: late afternoon for ridge glow or evening for bridge lights.
Work with a design-first local advisor
You only list once. When your home overlooks the Willamette, the Marion or Center Street bridges, or the Eola and Waldo ridges, presentation is everything. A curated staging plan and a disciplined photo rollout can elevate your outcome and shorten time on market. If you want a boutique, design-forward partner to maximize your net proceeds, connect with Heather Rauh. Schedule a consultation and let’s build your Sell Rich plan.
FAQs
What does a “river or ridge view” mean in West Salem?
- West Salem homes often look across the Willamette toward downtown and bridges or toward the Salem Hills and the Eola and Waldo ridges, with Wallace Marine Park and the Union Street crossing as notable landmarks, as outlined in this Salem overview.
Is it worth staging only the rooms with a view?
- Yes. NAR’s staging report shows the living room and primary suite have the biggest impact, so prioritize the spaces that showcase your view.
How should I prep windows and screens before photos?
- Clean panes inside and out, pull drapes fully open, and remove or open screens to reduce moiré and haze. These steps are recommended in HomeJab’s photography guide.
Do I need drone photos for a West Salem view home?
- A single drone image that places your lot relative to the river, Wallace Marine Park, and ridgelines helps buyers grasp context quickly, which can increase engagement online, per HomeJab’s photography guide.
How much should I budget for staging?
- Median costs vary by market and scope, but NAR’s staging report shows many sellers invest modestly to stage key rooms and see faster sales with stronger offers.
Will staging change my appraisal value?
- Appraisals rely on comps and condition, but staging can improve market perception and buyer competition, which can support stronger offers. See perception and pricing effects in NAR’s staging report.